
AddOhms by Bald Engineer

Copy/Paste KiCad 6 Text Hack | KiCad 6 Quick Tip #3

In mid-2021, I saw a demonstration of features for the upcoming KiCad 6. A statement caught me off guard: “the new copy/paste feature uses the system’s clipboard.” Then I watched as one of the developers copied from one KiCad instance into another. Immediately, that capability hit me as a game-changer. Not because the world’s oldest shortcut keys now work as we all expect, but because of the flexibility the method introduces! Actual text gets copied to the clipboard. For example, you can paste that into a text editor, make some changes, and then paste the new version of “code” back into KiCad.

Read More
INSert key saves time on wires and labels | KiCad 6 Quick Tip #2

KiCad repeats the last command when you press the INSert key ( Fn-Enter on Mac). This excellent shortcut creates incrementing labels and makes wires the same size. Both save time when you need to label the pins of an IC in the schematic. To try out the trick, open up a schematic. Click the Add Net Label command and then type a net label that ends in a number, like, A0.

Read More

What is AddOhms?

AddOhms is an electronics YouTube channel. It started with short animated tutorials to explain electronics concepts. Over the years, it has grown in audience and topics. If you want to learn more about electronics, discuss design tips, make PCBs, or see the latest gear, then check out the videos below. James, also known as the Bald Engineer, hosts the channel and does weekly live streams.

Read More

Schematic to PCB KiCad 6 | Quick Tip #1

In KiCad 6 (and 5), the F8 key runs a special command. It automates annotating a schematic, generating a netlist, and loading it into PCBnew. Also the “Edit Symbol Fields” is a better tool for updating footprints than the actual “Assign Footprints” dialog! This video is the first one of a series of quick tips.

Read More

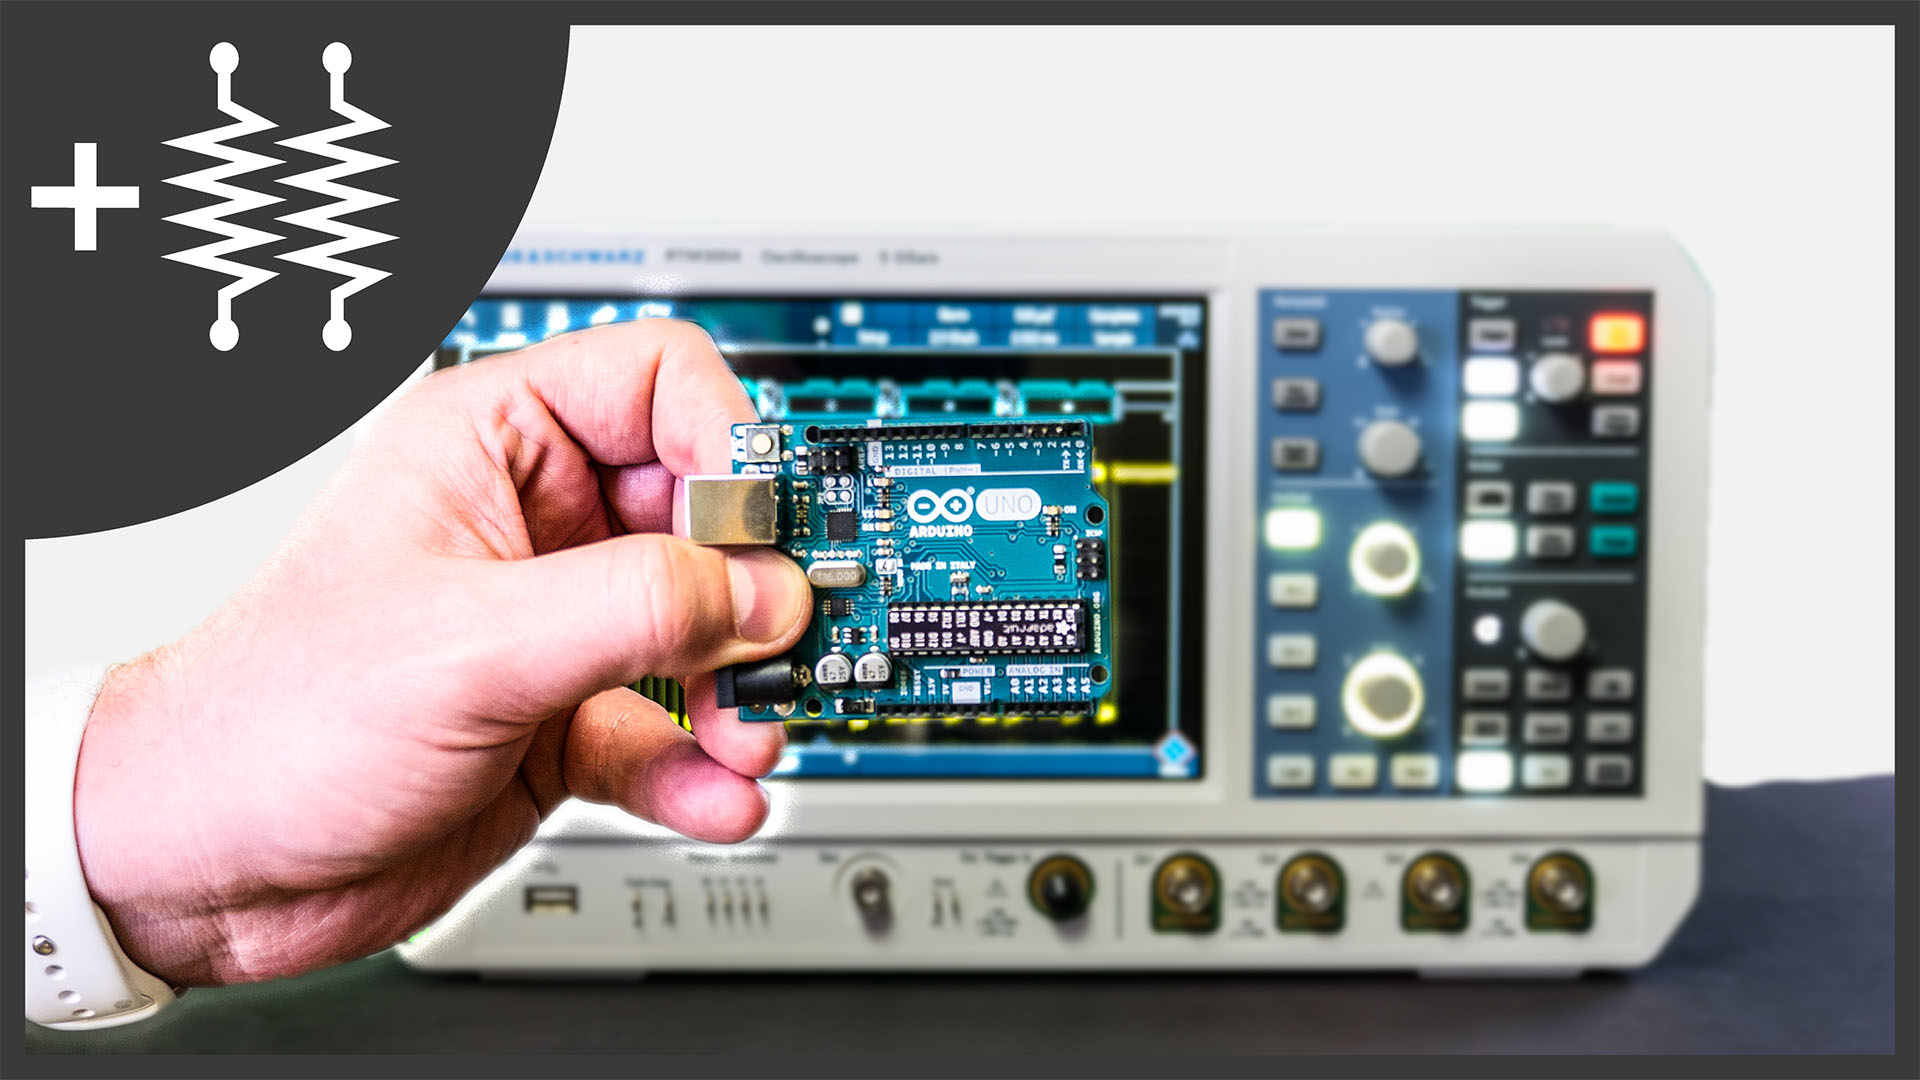
Learn to use a scope with an Arduino | #28

Learn to use a scope with an Arduino | #28

Electronics Tutorial Video Learning to use a new oscilloscope can be daunting! In this video, I show five measurements you can make using just an Arduino as your DUT. Learn how to offset voltage, set up measurements, enable infinite persistence, save reference waveforms, AND trigger (and decode) serial signals.

Read More